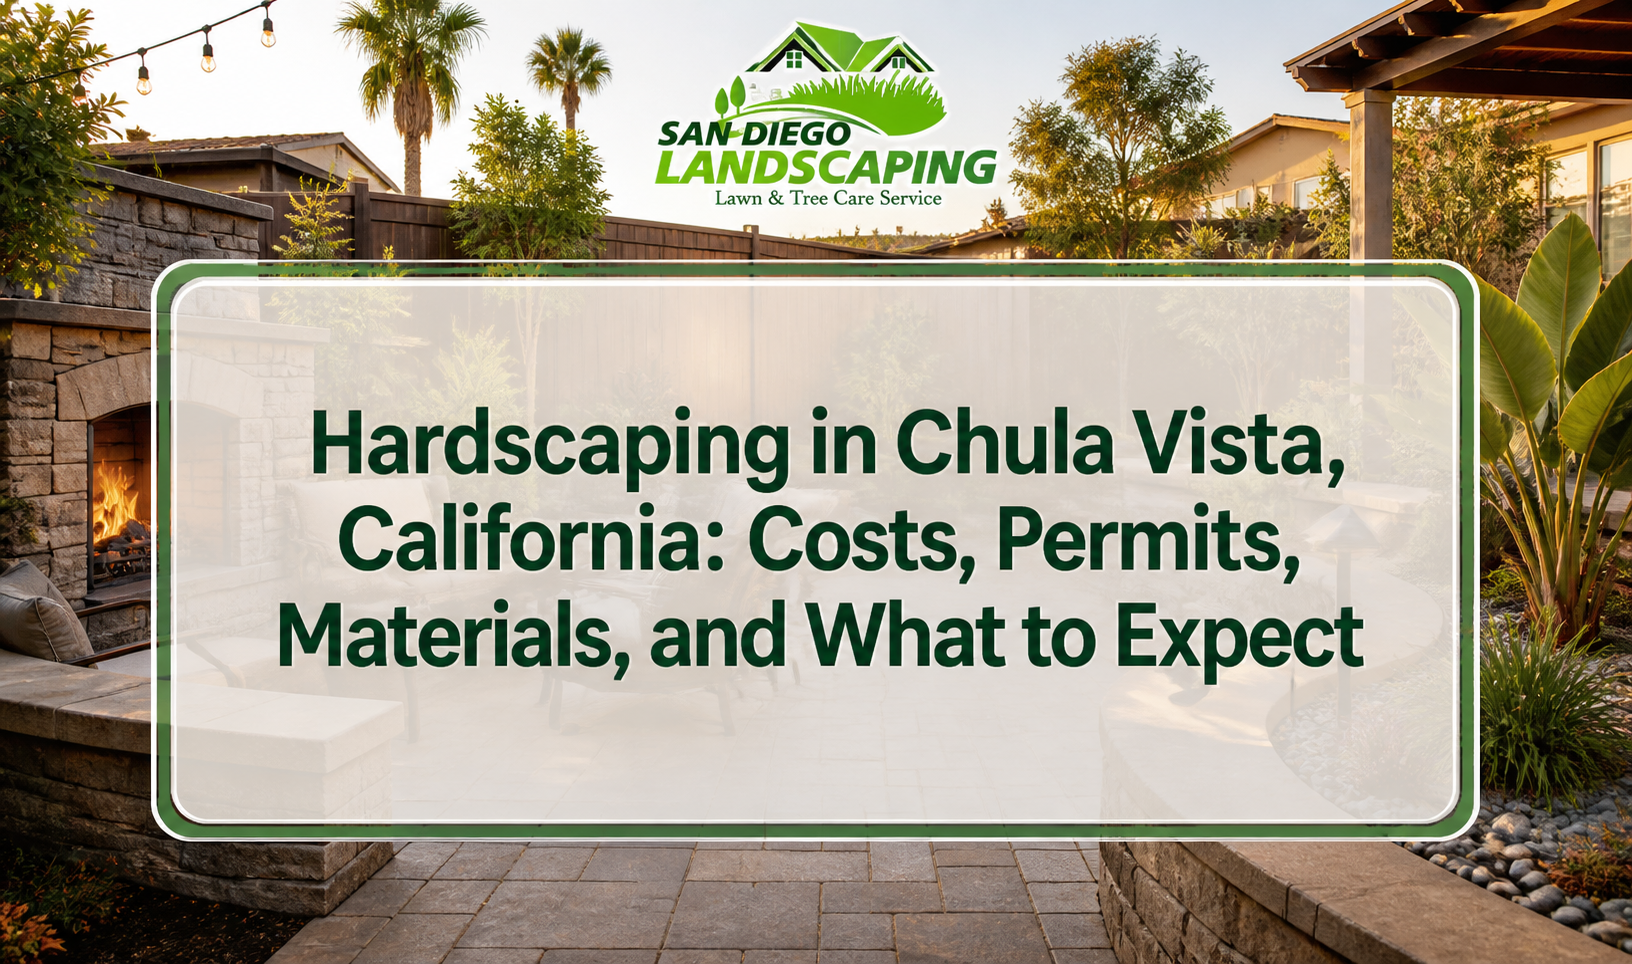
Hardscaping in Chula Vista, California: Costs, Permits, Materials, and What to Expect
Key Takeaways
Hardscaping Chula Vista projects are easiest to budget and schedule when costs are planned from an itemized scope that accounts for site prep, grading, drainage, and base work—not just the finished surface. Because patios, walls, steps, and utility-ready features can affect runoff and soil stability, it’s important to verify permit triggers and drainage intent before excavation.
- Cost is driven by what’s under the surface: Installed pricing can vary widely for the same square footage based on demolition, grading/drainage needs, base depth and compaction, access constraints, and detail work like steps, edges, and transitions.
- Permits depend on scope and site conditions: Requirements are project-specific, but retaining walls, grading or stormwater flow changes, and gas/electrical/water tie-ins commonly trigger review, so confirm current City of Chula Vista requirements and treat “no permit needed” claims cautiously.
- Material choice should match movement, drainage, and maintenance: Concrete can be cost-effective but typically cracks over time and sheds water, pavers are modular and repair-friendly but rely on strong base prep and edge restraints, and natural stone delivers a premium look with higher install complexity and careful setting to avoid uneven surfaces.
Hardscaping Chula Vista projects typically involve planning for realistic installed costs, choosing durable materials for a coastal-influenced climate, and confirming whether permits are required for walls, grading, drainage, or utility work.
In Chula Vista, common upgrades like paver patios, retaining walls, steps, and outdoor kitchens can affect drainage and soil stability, so layout and base preparation matter as much as the surface finish. Depending on scope, you may need to verify local requirements for setbacks, stormwater management, and construction near property lines, and it’s also important to locate underground utilities before any excavation.
This guide explains what drives price ranges, which permits may apply, how to compare pavers, concrete, and natural stone, and what to expect during site prep, installation, and final inspection so you can budget and schedule with fewer surprises.
What Drives Hardscaping Costs in Chula Vista
Installed hardscaping costs usually depend on site conditions, base preparation, access, and material choices—not just the visible surface. The most reliable budgets come from itemized scopes that separate demolition, grading, drainage, base, materials, and finishing.
Two projects with the same square footage can price very differently if one has poor soil, steep slopes, limited access, or requires moving utilities. Coastal-influenced weather patterns and occasional heavy rains also raise the importance of drainage features and proper compaction, which can add labor and materials but reduce long-term settling and water issues.
- Site prep and demolition: Removing old concrete, clearing roots, and hauling debris can be a significant portion of the total.
- Grading and drainage: Correcting slope, adding drain lines, or tying into existing drainage can change both scope and timeline.
- Base depth and compaction: Thicker aggregate base and better compaction generally improve performance but increase labor.
- Material selection: Concrete, pavers, natural stone, coping, and caps vary widely in unit cost and install complexity.
- Edges and transitions: Steps, seat walls, thresholds, and clean transitions to turf or planting areas add detail work.
- Access constraints: Narrow side yards and hillside lots can require smaller equipment or hand-carrying materials.
Permits and Local Review: What to Verify Before You Build
Permit needs depend on what you’re building and how it affects grading, drainage, and structures like retaining walls. Before excavating, confirm requirements for your specific scope and property because rules can vary with height, location, and engineering needs.
Hardscaping can cross into regulated work when it changes drainage patterns, involves significant earthwork, or includes walls or structures that affect soil stability. If your project is near property lines, on a slope, or close to existing structures, it’s especially important to confirm setbacks, wall height thresholds, and whether engineered plans are needed.
- Retaining walls: Height, surcharges (like fences or driveways above), and soil conditions can trigger engineering and permits.
- Grading and drainage changes: Altering how stormwater flows may require review to reduce impacts to neighbors.
- Outdoor kitchens and utilities: Gas, electrical, water, or sewer tie-ins typically require licensed work and inspections.
- Work near easements or property lines: Encroachments can create future disputes or resale issues.
Because permit triggers can be project-specific, consider checking with the City of Chula Vista for current requirements and asking your contractor to identify which line items may require plan checks or inspections. If you’re unsure, treat “no permit needed” claims cautiously and ask what the decision is based on.
Material Choices: Pavers vs. Concrete vs. Natural Stone
The best surface depends on your budget, desired look, drainage needs, and how much movement your site may experience over time. In many Chula Vista yards, flexible systems like pavers can be more forgiving if minor settling occurs, but every option can perform well with proper prep.
Concrete: Practical, continuous, and detail-dependent
Concrete can be cost-effective per square foot and works well for patios, walkways, and pads when properly reinforced and jointed. Its performance is strongly tied to subgrade preparation, control joints, and drainage design.
- Pros: Clean look, wide finish options (broom, stamped, colored), continuous surface for furniture.
- Cons: Cracks are common over time; repairs may be visible; drainage must be planned because it sheds water.
- Best uses: Larger patios, utility side yards, trash can pads, accessible walkways.
Concrete pavers: Modular and repair-friendly
Pavers create a segmented surface that can handle minor movement and allow targeted repairs without replacing the entire area. They require a well-built base, restrained edges, and (often) sand or polymeric jointing to reduce weed intrusion.
- Pros: Easy to repair or access utilities; many styles; good traction; can be permeable if designed that way.
- Cons: Joint maintenance; edge restraints matter; unevenness can develop if base prep is weak.
- Best uses: Patios, paths, pool decks (with proper slip considerations), and areas where future access is likely.
Natural stone: Premium look with higher install complexity
Stone offers unique color variation and a high-end feel, but installation details vary by stone type and setting method. Weight, thickness variation, and proper bedding are critical to reduce lippage and rocking.
- Pros: Distinctive appearance; can elevate curb appeal; durable when properly installed.
- Cons: Higher labor; potential for uneven edges; may require more specialized cutting and setting.
- Best uses: Entry features, focal patios, step treads/caps, and accent bands.
| Material Option | What It’s Best For | Key Planning Considerations in Chula Vista |
|---|---|---|
| Pavers (standard) | Patios and walkways needing repair-friendly surfaces | Base compaction and edge restraints are critical; plan jointing approach for weed control and washout resistance. |
| Permeable pavers | Areas where on-site infiltration is desired | Requires specific open-graded base and maintenance to prevent clogging; confirm suitability for your soil and slope. |
| Concrete (broom or decorative) | Large continuous patios and utility slabs | Joint layout and drainage slope matter; confirm how runoff will be directed to avoid pooling near structures. |
| Natural stone (set on base or mortar) | High-end focal areas and steps/caps | Thickness variation and setting method affect flatness; choose finishes that provide traction when wet. |
| Segmental retaining wall block | Grade changes and slope support | Drainage behind the wall and proper base are essential; verify if wall height/location triggers engineering or permits. |
Drainage and Grading: The Make-or-Break Details
Drainage planning is one of the most important parts of Hardscaping Chula Vista projects because patios, walls, and steps can redirect water. A good plan moves water away from structures and reduces erosion, washouts, and soil movement.
Even small hardscape additions can create low spots that pond water near foundations, doors, or fence lines. The goal is to establish intentional slopes and collection points so runoff doesn’t damage the installation or neighboring properties.
- Surface slope: Patios and walkways should be pitched to drain, but not so steep they feel uncomfortable underfoot.
- Drainage collection: Channel drains, area drains, or swales may be used depending on layout and runoff volume.
- Retaining wall drainage: Gravel backfill and drainage provisions help reduce hydrostatic pressure behind walls.
- Erosion control: Downhill edges may need stabilization, especially near slopes or canyons.
When hardscaping ties into broader yard improvements, it often helps to coordinate irrigation zones and planting areas early. If you’re also reworking lawn areas, aligning grades first can reduce rework later; you can coordinate this alongside sod installation so the finished turf sits flush with adjacent paving.
Base Preparation: What “Doing It Right” Typically Includes
Long-lasting hardscapes rely on proper excavation, stable base layers, and careful compaction. Most premature failures trace back to weak base prep, poor drainage, or rushing final leveling.
While specifics vary by soil type, load expectations, and the chosen material, many quality installations follow a consistent sequence. Ask your installer to explain each layer and how it will be compacted and verified before placing the surface.
- Layout and elevation planning: Establish finish height, thresholds, step risers, and drainage slopes.
- Excavation: Remove unsuitable soil and organic material; account for base thickness plus paver/stone thickness.
- Geotextile (when appropriate): Used in some conditions to separate soil from base aggregate and reduce contamination.
- Aggregate base installation: Place base in lifts and compact each lift to reduce settling.
- Bedding layer: Depending on system, use bedding sand or a setting bed appropriate to the product.
- Edge restraints and borders: Critical for pavers to prevent lateral creep over time.
- Jointing and finishing: Sweep in joint sand/polymeric sand; finalize cuts and transitions.
If the project includes steps, landings, or walls, confirm how those will be founded. These elements often need deeper excavation and more structural support than flatwork, especially where soils expand/contract or where runoff concentrates.
Retaining Walls, Steps, and Elevation Changes
Walls and steps solve common Chula Vista yard challenges like sloped lots and tiered outdoor living areas. Because these features affect soil stability and drainage, they should be designed as structural landscape elements—not just decorative add-ons.
Retaining walls can fail when water builds up behind them or when the base is insufficient for the soil and load above. Steps can become uneven or unsafe if riser heights vary or if tread surfaces get slick when wet.
- Wall planning: Confirm wall purpose (retaining vs. freestanding), height, and whether there are loads above (driveway, fence, hot tub).
- Drainage behind walls: Plan for gravel backfill and a method for water to exit rather than pressurizing the wall.
- Step geometry: Keep risers consistent; plan lighting and handholds if the run is long or used at night.
- Surface safety: Choose finishes that provide traction in damp conditions.
Outdoor Kitchens and Utility-Ready Hardscapes
Outdoor kitchens, BBQ islands, and fire features require coordination between hardscape layout and utilities. Planning routes early for gas, electrical, and water helps avoid cutting into new concrete or pulling up pavers later.
Even if you’re not installing the full kitchen now, you can “future-proof” a patio by planning conduits, stub-outs, and equipment pads. This is often more cost-effective than retrofitting after the finish surface is installed.
- Space planning: Leave room for appliance clearances, doors/drawers, and comfortable traffic flow.
- Ventilation and heat clearance: Verify safe spacing from fences, patio covers, and planting areas.
- Utility routing: Identify where lines can run without conflicting with footings or drains.
- Surface protection: Use heat-resistant details near fire features; avoid finishes that stain easily near grills.
How to Compare Contractor Proposals (and Avoid Scope Gaps)
Two bids can look similar but include very different assumptions about excavation depth, base materials, drainage, and finishing details. A clear scope reduces surprise change orders and helps you compare apples to apples.
Ask for a written scope that itemizes what’s included, how grades and runoff will be managed, and what the finished elevations will be relative to doors, drains, and landscaping. If the proposal is vague about base thickness or compaction steps, request clarification before signing.
- Demolition and disposal: Confirm what is being removed and where debris goes.
- Base specifications: Ask what base material is used, how deep it will be, and how it will be compacted.
- Drainage plan: Identify where water will go and what measures prevent pooling.
- Edge restraints and borders: Confirm included edging type and where it will be installed.
- Cutting and finish quality: Ask how visible cuts will be handled around curves, drains, and walls.
- Protection of existing features: Note trees, irrigation lines, fencing, and neighboring property concerns.
Maintenance Expectations for Long-Lasting Hardscapes
Most hardscapes need periodic cleaning and minor upkeep, especially in joints, edges, and drainage points. Planning maintenance into your design choices can reduce the effort needed to keep surfaces looking clean and level.
Maintenance needs vary by material and microclimate (shade, tree debris, irrigation overspray). Sealing can help with staining for some surfaces, but it’s not always required and can change traction and appearance, so it’s worth discussing pros and cons for your specific material.
- Pavers: Replenish joint sand as needed; control weeds by addressing blown-in soil and organic buildup.
- Concrete: Keep control joints clear; address small cracks early to reduce water intrusion.
- Natural stone: Use appropriate cleaners; avoid harsh chemicals that can etch or discolor certain stones.
- Drainage features: Clear grates and outlets so runoff paths don’t clog during storms.
Hardscaping is one part of overall landscaping, so it helps to consider how irrigation, planting beds, and tree canopy will affect debris, shade, and moisture on paved areas over time.
A Practical Planning Checklist for Hardscaping Chula Vista Projects
A simple checklist can help you align design, budget, and scheduling while reducing rework. Use this list before ordering materials or finalizing a start date.
- Define the primary use: Dining, lounging, access path, play space, or a utility side yard.
- Confirm drainage approach: Identify slopes, drain locations, and where water discharges.
- Check constraints: Note property lines, easements, existing trees/roots, and door thresholds.
- Choose material system: Concrete vs. pavers vs. stone based on repairability, look, and maintenance preference.
- Plan for utilities: Decide now on lighting, outlets, gas lines, and water lines—even if phased.
- Verify approvals: Confirm whether permits or engineering may be required for walls, grading, or utilities.
- Align schedule with lead times: Specialty pavers/stone and caps can take longer to source.
When these items are addressed early, you’re more likely to end up with a hardscape that drains correctly, feels comfortable to use, and holds its level through seasonal weather and everyday wear.
Frequently Asked Questions
Get a Clear, Build-Ready Plan for Your Chula Vista Hardscape
If you’re considering pavers, concrete, stone, steps, or a retaining wall, the fastest way to avoid budget surprises is to confirm site conditions, drainage direction, and material options before you commit. Sharing your goals and photos can help pinpoint what will drive labor, access, and base preparation on your property.
Professional input is especially useful when the scope touches grading, runoff near structures, or walls and utilities—areas where vague proposals can lead to rework, uneven settling, or inspection delays. A detailed, itemized scope makes it easier to compare bids and choose a plan you can maintain long-term.
Leave a Reply