
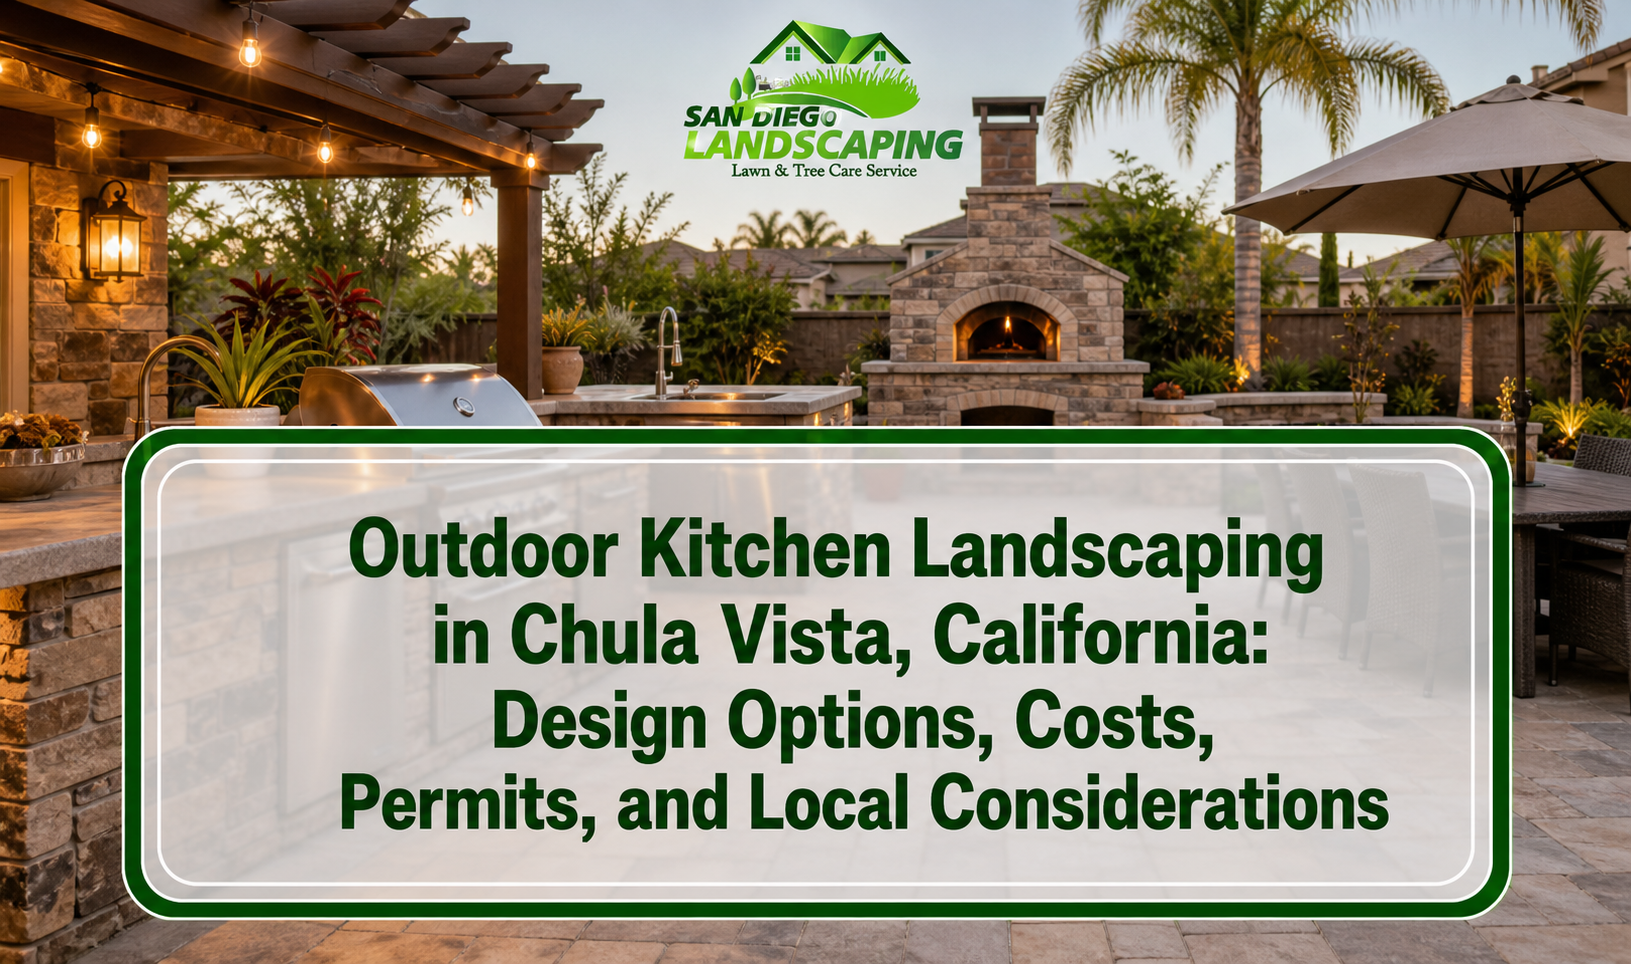
Outdoor Kitchen Landscaping in Chula Vista, California: Design Options, Costs, Permits, and Local Considerations
Key Takeaways
Outdoor Kitchen Landscaping Chula Vista projects are most successful when the layout, drainage, and utility routing are planned first, since site conditions and permanent connections can affect safety, permitting, and overall build complexity. Early coordination around clearances, ventilation, and water management helps turn a good-looking concept into a functional, code-aware outdoor kitchen.
- Layout drives safety and usability: Separating cooking, prep, serving, and clean-up zones helps avoid pinch points and heat zones while keeping traffic flow and clearances in mind from the start.
- Site conditions shape the “best spot”: Slope, soils, access constraints, and wind/sun exposure can require extra base preparation and influence placement so smoke, runoff, and settling risks are reduced.
- Utilities and permits can change scope: Gas piping, new electrical circuits, and plumbing tie-ins often require early routing plans, shutoff/access panel planning, and confirming with the City of Chula Vista whether permits and inspections apply based on the specific scope.
Outdoor Kitchen Landscaping Chula Vista projects typically combine a built-in cooking area with hardscape, utilities, and drainage so the space functions safely and meets local requirements. In Chula Vista, costs and design options can change based on slope, soil conditions, access to gas and electrical service, and whether you’re adding masonry structures, patio covers, or permanent appliances.
Because outdoor kitchens often involve gas piping, electrical circuits, and sometimes plumbing, it’s important to plan for code-compliant clearances, proper ventilation, noncombustible surfaces near heat sources, and water management to protect adjacent patios and foundations. Permits may be required depending on the scope of work, so early coordination with the City of Chula Vista for building and related inspections can help avoid redesigns and delays.
This guide walks through common layout and material choices, realistic budget drivers, when permits and utility upgrades come into play, and local site considerations—so you can move from concept to a buildable plan with fewer surprises.
Planning a Functional Outdoor Kitchen Layout in Chula Vista
A well-planned layout makes Outdoor Kitchen Landscaping Chula Vista projects safer, easier to use, and simpler to permit because utilities and clearances are considered from the start.
Begin by thinking about how people will move through the space during real use: carrying food from the indoor kitchen, opening refrigerator doors, loading trash, and circulating around seating. The goal is to avoid pinch points and heat zones that interrupt foot traffic or place guests too close to hot surfaces.
- Cooking zone: Grill, side burner, pizza oven, or smoker with noncombustible finishes nearby.
- Prep zone: Counter area with landing space for trays and cutting boards.
- Serving zone: A pass-through counter or bar ledge that keeps guests out of the cook’s path.
- Clean-up zone: Trash pull-out, recycling, and (if included) a sink with protected drainage planning.
In many Chula Vista backyards, the best location balances convenience to the home with wind exposure and slope. Placing the kitchen too close to doors can concentrate smoke near indoor pathways; placing it too far often increases trenching and conduit runs, which can raise complexity.
Choosing a Layout: Straight, L-Shape, or U-Shape
Layout choice affects appliance spacing, utility routing, and how many people can comfortably gather without crowding the cooking area.
A straight run is usually the simplest for smaller patios and can reduce utility crossings. L-shaped designs create a natural separation between cooking and serving, while U-shaped kitchens maximize counter space but can require more careful circulation planning so the cook isn’t boxed in.
- Straight: Good for narrow yards and minimal appliance packages.
- L-shape: Common for adding a bar ledge or dedicated prep corner.
- U-shape: Best for frequent entertaining, but plan wider aisles and clear access points.
Site Conditions That Shape Design Decisions
Chula Vista lots often include slopes, retaining edges, and variable soils, so outdoor kitchens need stable bases, managed runoff, and smart placement to avoid future settling or drainage issues.
Before finalizing a design, take note of grade changes, where rainwater collects, and how existing patios drain. If the kitchen sits on a slope, it may need additional base preparation, small retaining solutions, or regrading so water doesn’t move toward the home or under cabinetry.
- Slope: Can impact footings, leveling, and where drains/outlets can be placed.
- Soils: Some soils compact well; others may require deeper base work to reduce movement.
- Access: Tight side yards can limit equipment access for demolition, trenching, and hauling.
- Wind/sun exposure: Influences smoke behavior and comfort, especially in open, elevated areas.
Drainage and Runoff: Protecting Patios and Foundations
Drainage planning keeps water from pooling under counters, undermining pavers, or migrating toward the house—issues that can be costly to correct after the build.
Outdoor kitchens combine hard surfaces (concrete, pavers, stone) that shed water. That runoff needs a controlled path—often achieved through subtle grading, channel drains where appropriate, and thoughtful downspout routing if a patio cover is added.
- Verify the cooking and seating slab/paver areas slope away from structures.
- Avoid trapping water behind island bases or against stucco walls.
- Consider how roof runoff will discharge if a cover is installed later.
- Keep irrigation spray away from grills, outlets, and finish materials.
Utilities: Gas, Electrical, and Plumbing Considerations
Utility planning is the difference between an attractive concept and a buildable outdoor kitchen—especially when permanent appliances and lighting are involved.
Outdoor Kitchen Landscaping Chula Vista projects frequently include gas lines for grills or fire features and electrical circuits for refrigeration, outlets, and task lighting. Trenching routes, shutoff access, and equipment specifications should be coordinated early so the island structure can accommodate required connections and clearances.
- Gas: Pipe sizing, routing, shutoff valve placement, and pressure considerations must match the appliance requirements.
- Electrical: Dedicated circuits may be needed for refrigerators or multiple outlets; weather-appropriate covers and placements matter.
- Plumbing: If adding a sink, plan for supply lines and an approved drain approach; not every yard has an easy tie-in point.
If you’re also updating the surrounding yard systems while the trenches are open, it can be efficient to coordinate irrigation improvements at the same time, such as sprinkler installation & repair, so planting zones around the kitchen don’t end up overwatered or undersupplied.
Permits and Inspections: When They Often Come Into Play
Permits may be required when work involves gas piping, new electrical circuits, plumbing, or certain permanent structures, and the exact requirements depend on your specific scope and site.
Because the permitting threshold can vary based on what’s being installed and how it connects, it’s wise to confirm requirements early rather than assuming an outdoor kitchen is purely “landscaping.” If permits apply, inspections help ensure the work is safe and code-compliant—especially for gas and electrical components.
- List every appliance and utility connection you want before design finalization.
- Confirm if the project includes new circuits, gas line extensions, or plumbing tie-ins.
- Plan access panels and shutoffs so inspections and future maintenance are straightforward.
Materials and Finishes That Perform Well Outdoors
Material selection affects heat safety, cleanup, weather resistance, and long-term maintenance—especially in a cooking area that sees grease, UV exposure, and occasional coastal humidity.
Outdoor kitchens bring together surfaces with different tolerances: a countertop may handle heat differently than a veneer, and a cabinet frame may respond differently to moisture than a masonry base. Choosing compatible materials reduces cracking, staining, and premature wear.
Countertops, Cabinet Bases, and Surrounds
Countertops and bases should be selected for durability, noncombustible performance near heat sources, and realistic maintenance needs.
- Concrete: Highly customizable; can stain if not sealed/maintained and may develop hairline cracks over time.
- Natural stone: Attractive and heat tolerant; porosity varies, so sealing and stain awareness are important.
- Porcelain or sintered surfaces: Often chosen for stain and heat resistance, but edge detailing and substrate support matter.
- Masonry bases: Common for built-in islands; plan access doors for valves, outlets, and service needs.
Where grills and side burners are installed, noncombustible surrounds and proper clearances help reduce fire risk. Even when manufacturers specify clearances, the island framing and finish layers should be built to maintain them consistently.
Flooring: Pavers, Concrete, and Other Hardscape Options
The patio surface under and around the kitchen should support heavy loads, resist grease staining, and provide stable footing.
Pavers can be convenient when access to underground lines is likely in the future, while poured concrete can be easier to hose down and keep level. Whichever you choose, the base preparation and compaction are key; many “surface issues” trace back to what’s underneath.
| Outdoor Kitchen Element | What to Evaluate | Chula Vista Site Considerations |
|---|---|---|
| Kitchen location | Distance to indoor kitchen, traffic flow, smoke path, shade | Slope and wind exposure can shift the “best spot” away from doors or low drainage points |
| Patio/hardscape base | Compaction, thickness, reinforcement needs, settlement risk | Hillside yards and cut/fill areas may need extra attention to prevent movement |
| Gas and electrical routing | Trench paths, shutoff access, dedicated circuits, service panel capacity | Longer runs or difficult access can increase complexity; plan routes before hardscape is finalized |
| Drainage strategy | Surface slope, runoff collection, low spots, downspout discharge | Prevent water from pooling at island bases or flowing toward foundations |
| Heat and fire safety | Noncombustible finishes, ventilation, appliance clearances | Open-air cooking still needs safe separation from structures, fences, and overhead features |
Comfort Features: Shade, Seating, and Lighting
Comfort upgrades help the outdoor kitchen get used more often by improving sun control, nighttime visibility, and how guests gather around the space.
In Chula Vista, afternoon sun and glare can make a beautiful kitchen feel harsh without shade. Seating should be planned so people can socialize without blocking grill access, and lighting should include task lighting at the cook surface—not only ambient string lights.
- Shade structures: Patio covers or pergola-style elements; ensure heat and smoke can vent safely.
- Seating: Bar-height counters, dining tables, or built-in benches; keep clear walkways for serving.
- Lighting: Task lighting for prep/cooking, path lighting for steps, and subtle accent lights for safety.
Ventilation and Clearance Awareness
Ventilation is essential for comfort and safety, and clearance planning helps reduce heat damage and fire risk.
Even in open yards, smoke can collect under patio covers or drift into open doors and windows. Appliance installation guidance should be followed carefully, and combustible materials (including certain trim, fencing, or overhead components) should be kept away from heat sources according to manufacturer instructions and applicable code requirements.
Landscaping Around the Kitchen: Planting, Irrigation, and Low-Mess Design
The landscaping around an outdoor kitchen should enhance privacy and aesthetics while minimizing leaf drop, pests, and overspray on cooking surfaces.
It’s tempting to frame the kitchen with lush planting, but a few practical choices make maintenance much easier. Select plants that don’t constantly shed leaves onto counters, and avoid spiky or thorny species near high-traffic edges.
- Low-litter planting: Reduces debris on counters and in drains.
- Heat-friendly spacing: Keep plants far enough from grills and exhaust paths.
- Irrigation zoning: Separate watering needs for shrubs, groundcover, and any nearby lawn areas.
- Durable edging: Helps keep decomposed granite or mulch out of the patio.
If you’re designing the full yard at the same time, it helps to coordinate the kitchen build with broader landscape services so grades, planting beds, and hardscape transitions work as one plan rather than a series of patches.
Many homeowners also explore broader concepts of landscaping to align plant selection, hardscape, and outdoor living features into a cohesive layout that’s easier to maintain.
Keeping Outdoor Kitchens Cleaner With Smart Plant Choices
Strategic planting reduces grease and dust buildup by avoiding cluttered corners and high-shedding canopies directly over prep areas.
- Use taller screening plants set back from the island to maintain airflow.
- Choose groundcovers that don’t blow into the cooking zone during windy afternoons.
- Place herbs in containers where watering is controlled and harvest is convenient.
Budget Drivers and Where Costs Commonly Increase
Outdoor kitchen costs vary most based on utilities, hardscape scope, appliance selection, and site access—not just the visible finishes.
Two kitchens can look similar but differ significantly in build complexity if one requires major trenching, electrical service upgrades, or retaining work. Planning around these drivers helps prioritize features that deliver everyday value.
- Utility extensions: Longer gas/electrical runs and complex trenching routes add labor and coordination.
- Structural needs: Walls, footings, or reinforced slabs can be required depending on soil and design.
- Appliance packages: Premium built-ins may require more clearance, ventilation, or dedicated circuits.
- Finish detailing: Stone veneer, custom tile work, and decorative caps increase labor time.
- Access constraints: Limited access can increase handwork and debris hauling time.
If you’re budgeting, ask for itemized scopes that separate appliances, utility work, hardscape, and finish carpentry/masonry. This makes it easier to scale the project up or down without compromising essentials like safe utility routing and drainage.
From Concept to Buildable Plan: A Practical Workflow
A clear process reduces redesigns and helps ensure the final outdoor kitchen matches your cooking style, yard conditions, and utility realities.
Many delays happen when appliance dimensions change late or when utility routes aren’t resolved before hardscape is installed. A phased workflow keeps decisions in the right order and reduces the chance of tearing out finished work.
- Define the “must-haves”: Grill size, refrigeration, side burner, sink, trash storage, seating count.
- Confirm the location: Walk paths, door swings, smoke direction, and shade needs.
- Review utilities: Identify connection points and likely trench paths before choosing final finishes.
- Finalize materials: Select countertops, base construction, and flooring that fit maintenance preferences.
- Plan drainage: Verify slopes and where runoff will go as hardscape is added.
- Coordinate permit needs: If applicable, align schedule with inspections and lead times.
Designing an Outdoor Kitchen You’ll Actually Use Year-Round
The best Outdoor Kitchen Landscaping Chula Vista designs blend practical cooking workflow with durable materials, safe utilities, and a yard layout that stays comfortable in changing weather.
When you prioritize location, drainage, and utility planning first, the finishes and features become easier to choose—and the space is more likely to perform well long after the excitement of the build is over. Think about the “boring” details (access panels, shutoffs, cleanable surfaces, and lighting) as quality-of-life upgrades that pay off every week.
If you want the outdoor kitchen to feel like a natural extension of your home, treat it as part of a complete outdoor living plan: cooking, dining, circulation, planting, and long-term maintenance. That approach typically delivers a space that’s safer, more comfortable, and far more enjoyable to use.
Frequently Asked Questions
Ready to Turn Your Outdoor Kitchen Concept Into a Buildable Plan?
If you’re planning an outdoor kitchen in Chula Vista, a quick conversation can help you confirm the best placement for smoke flow, traffic paths, and drainage—before you commit to appliances, stone, and hardscape that may require rework later. Clear planning up front also helps you anticipate when utility routing or permit questions could affect the schedule.
Pro Landscaping of Chula Vista can help you think through layout options, material choices, and practical site constraints like slope, access, and irrigation overspray so the finished space functions well and is easier to maintain.
Reach out to Pro Landscaping of Chula Vista to discuss your outdoor kitchen goals and next steps.

Leave a Reply